
【Tutorial】How to Use Bluehost
- 2023.09.18
- ブログマーケティング

Bluehost is the world’s top hosting server.
In this article I will explain how to get started and use Bluehost.
 HirokiKitaoka(@kitaokahiro)
How to Use Bluehost
Apply Bluehost
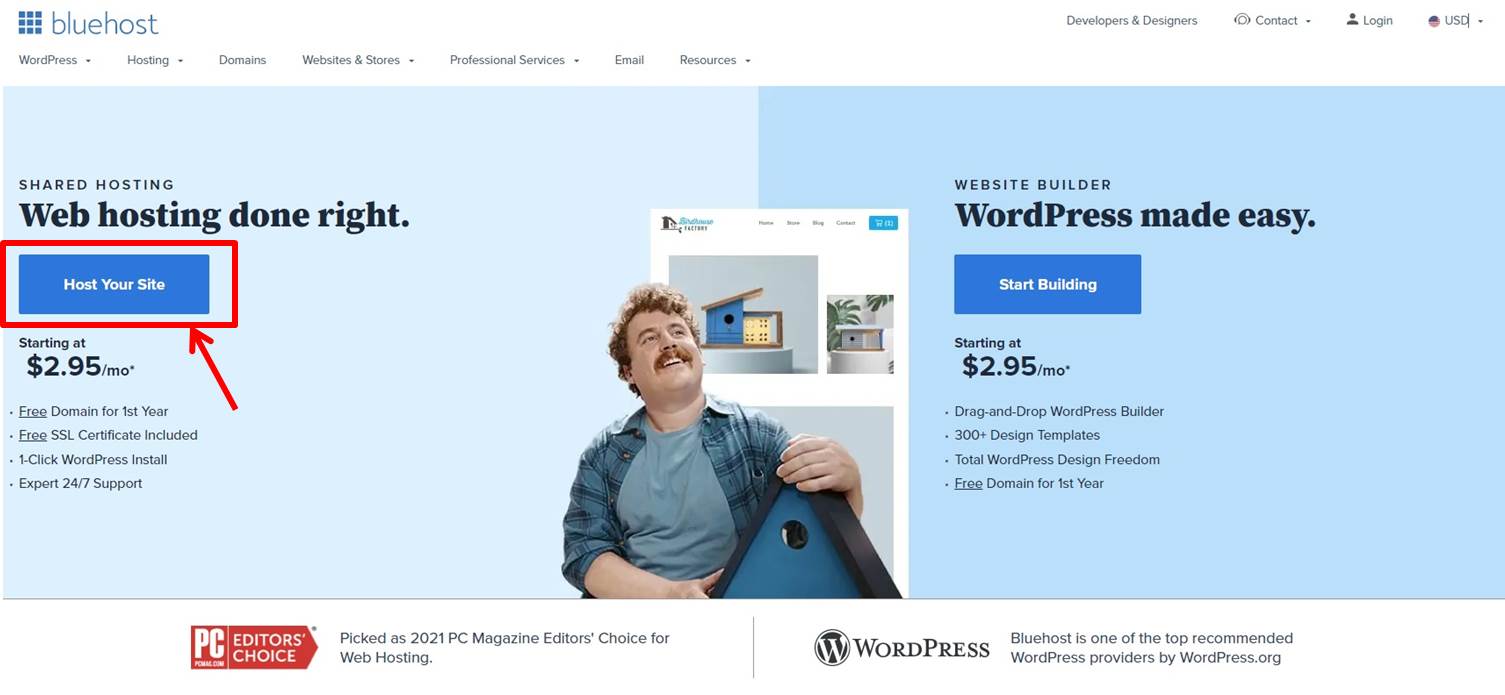
Access the official Bluehost website.
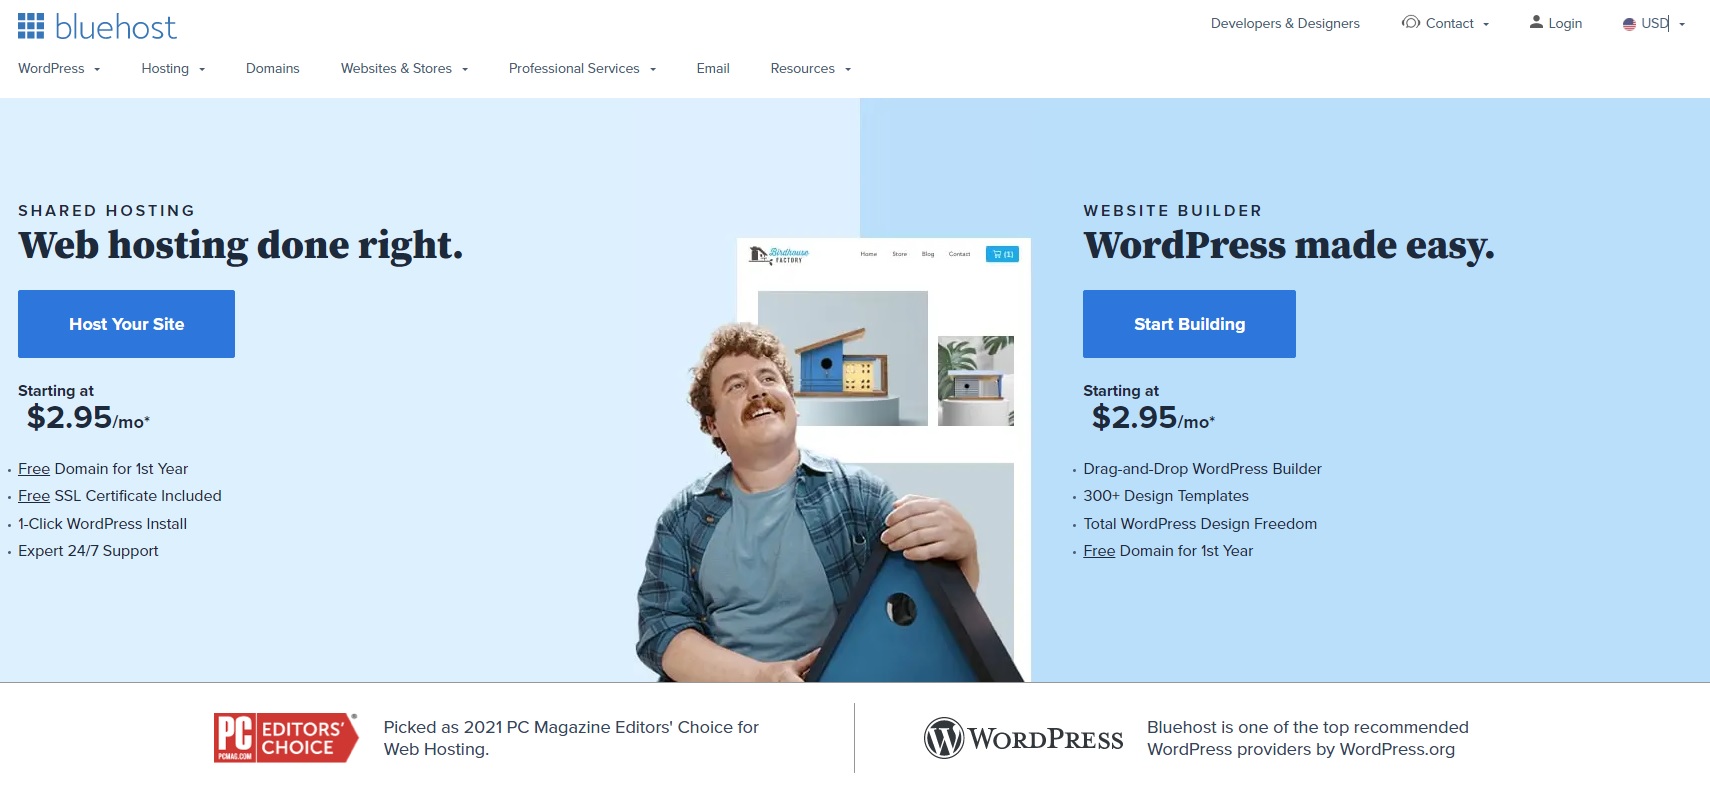
Click on “Host Your Site”.
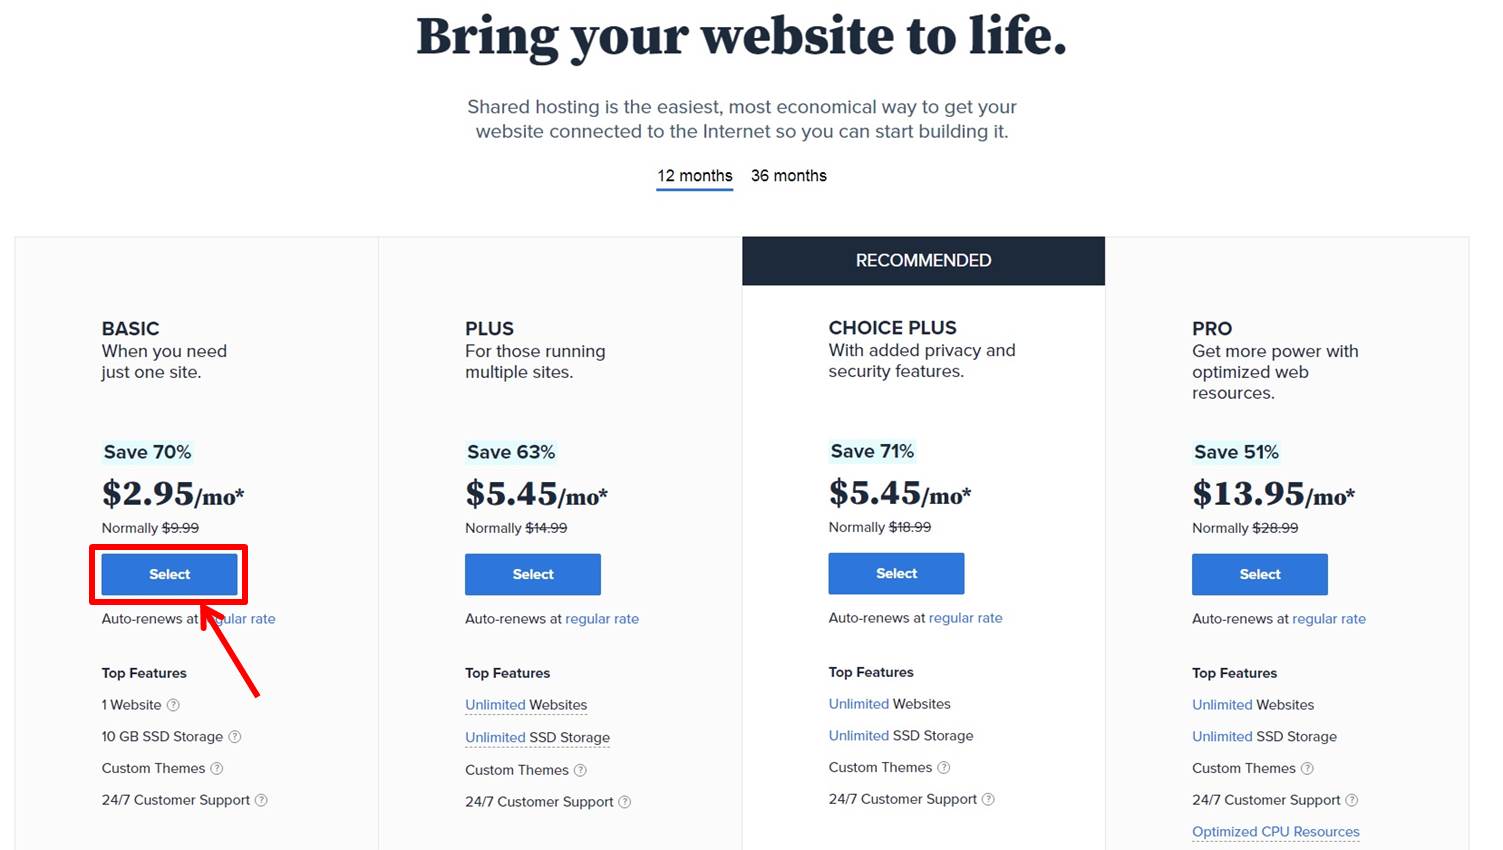
Click on “Select” under BASIC Plan.
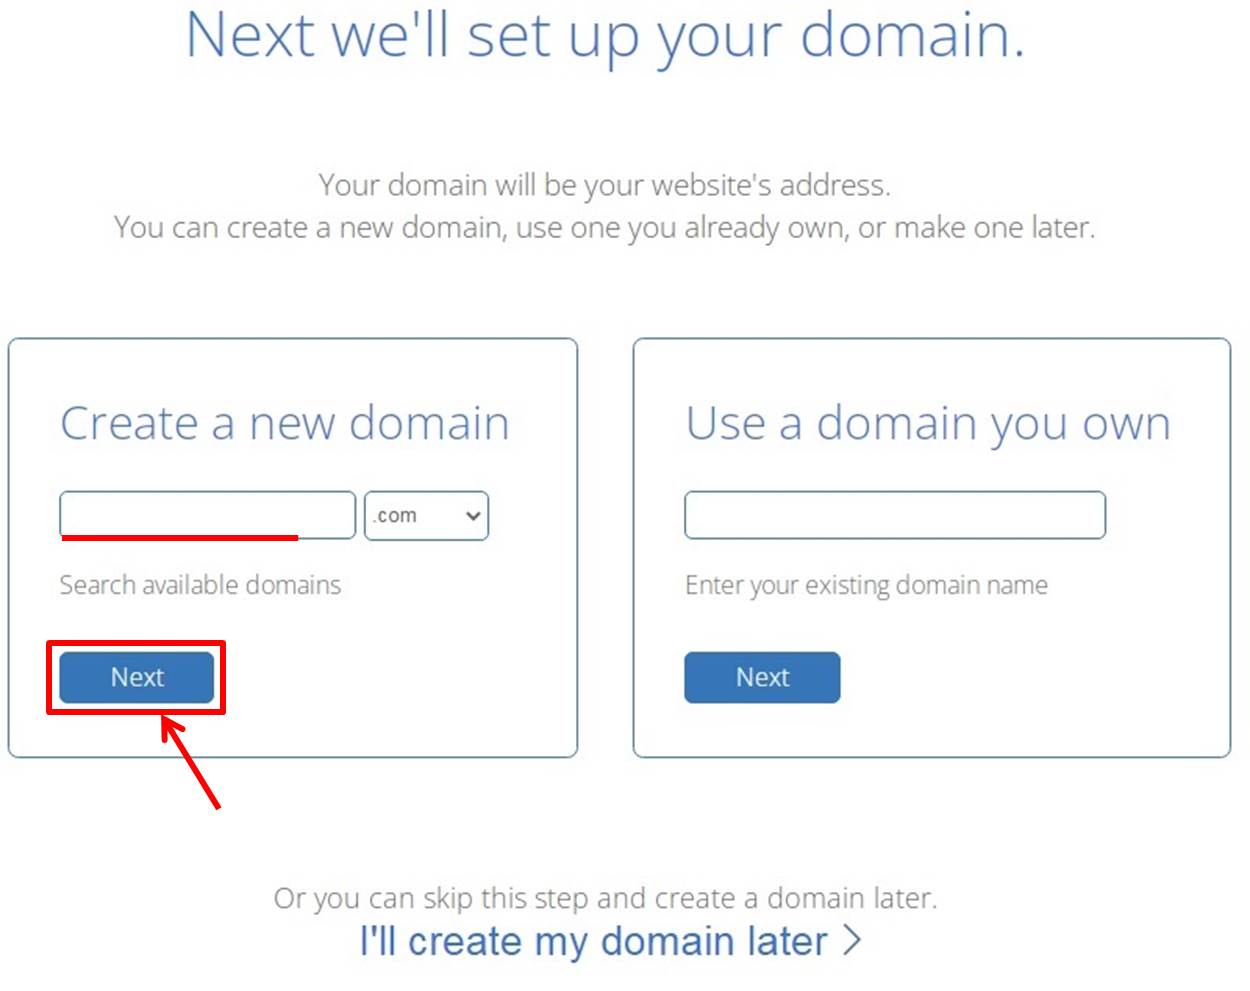
Enter the domain.
Click on “Next.
Enter your information in the “Account Information” field.
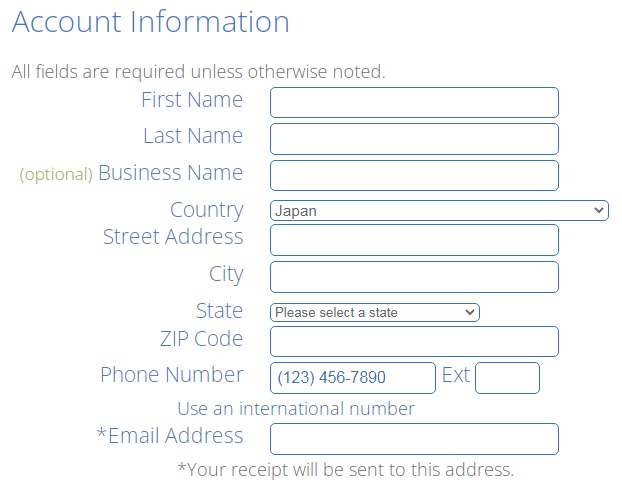
| First Name | Enter first name |
| Last Name | Enter last name |
| Business Name | Enter business name |
| Country | Select your country |
| Street Address | Enter address |
| City | Enter city |
| State | Enter state |
| ZIP Code | Enter zip code |
| Phone Number | Enter phone number |
| Email Address | Enter email address |
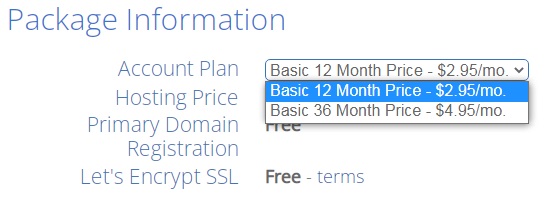
Choose “12 Month Price” or “36 Month Price”.
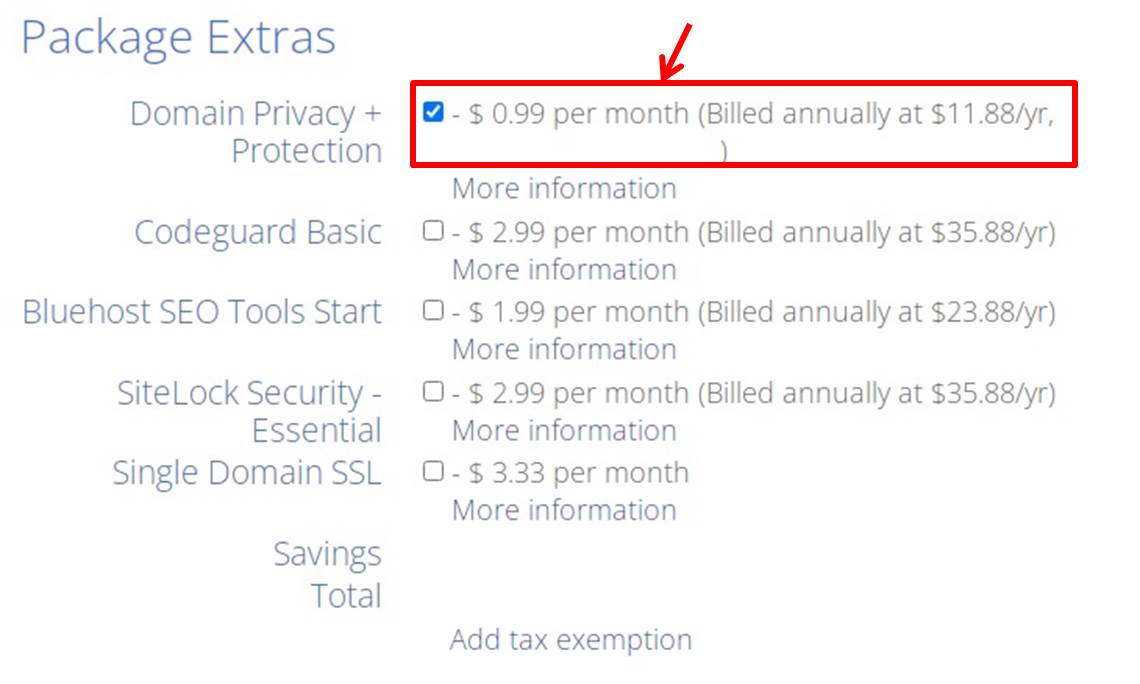
“Package Extras” is an optional item.
Enter payment information.
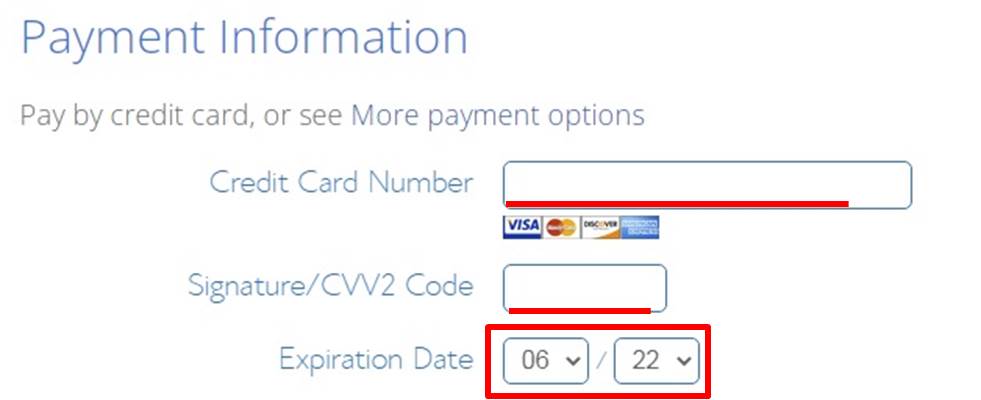
| Credit Card Number | Enter card number |
| Signature/CVV2 Code | Enter security code |
| Expiration Date | Enter expiration date |
Click on “Submit”.
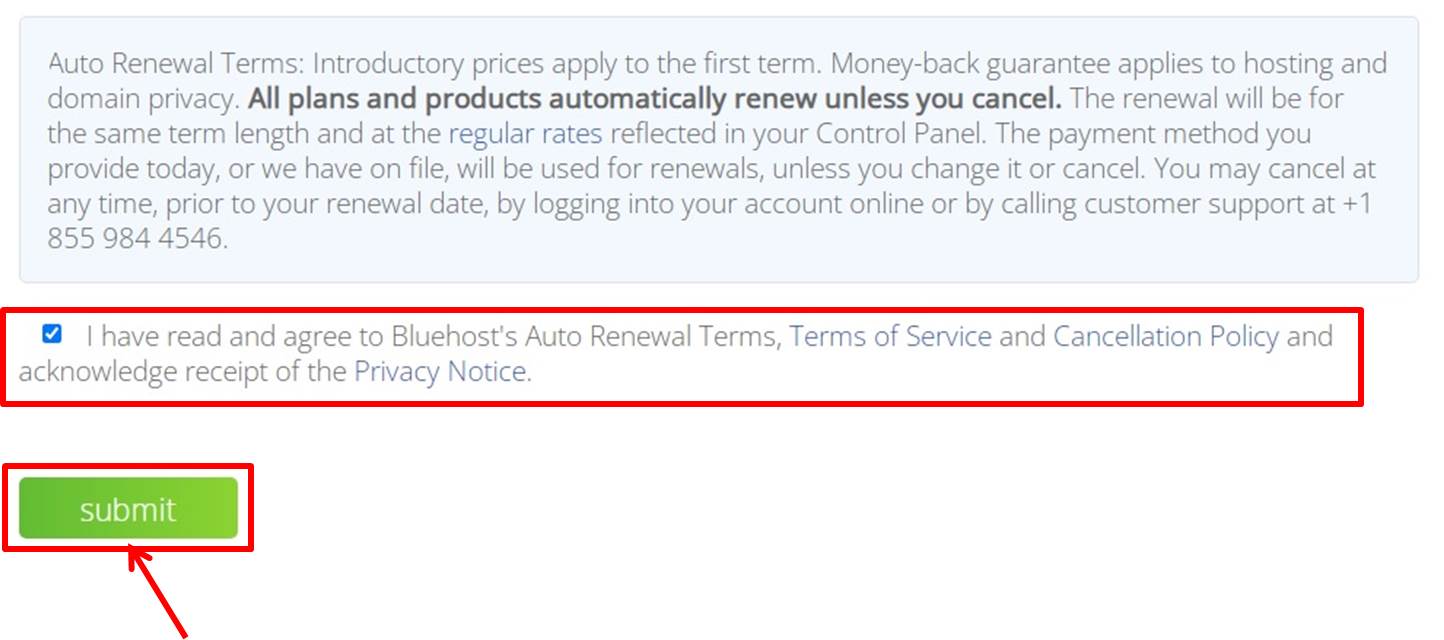
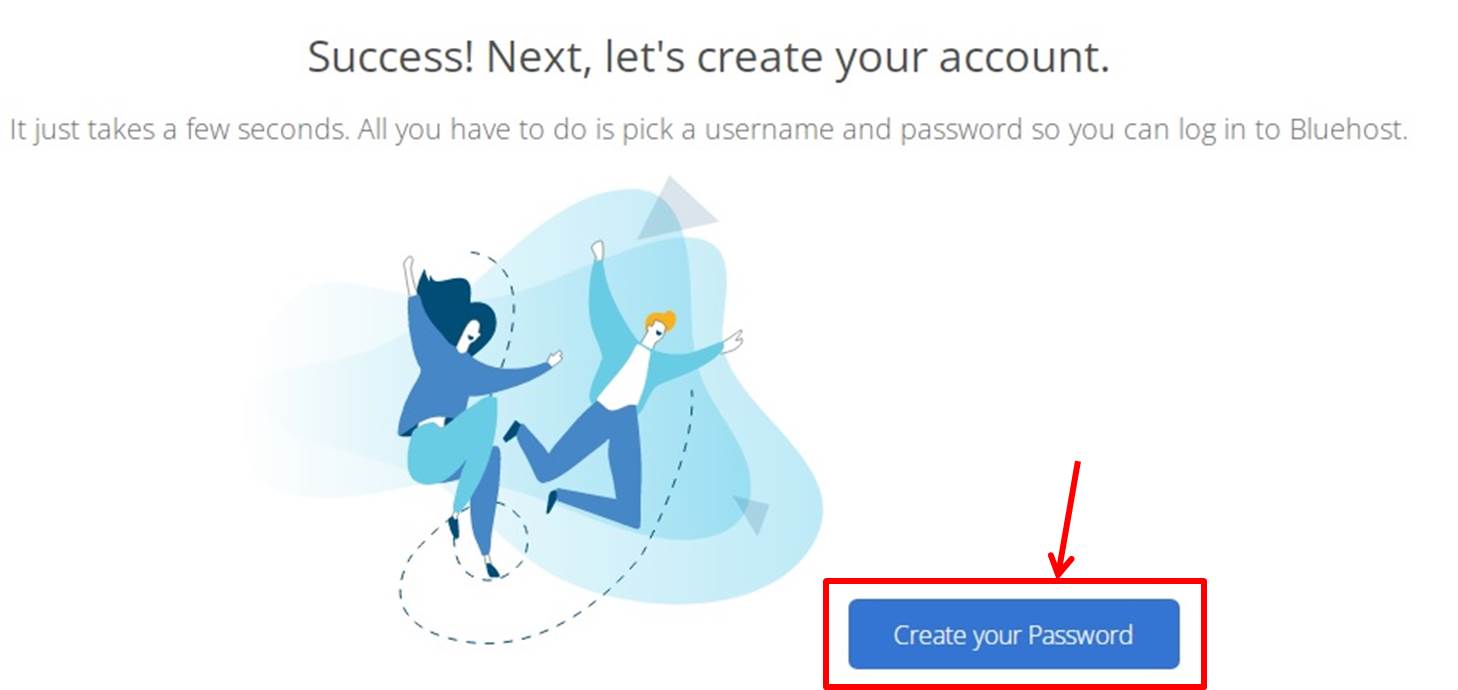
If you get “Success!”
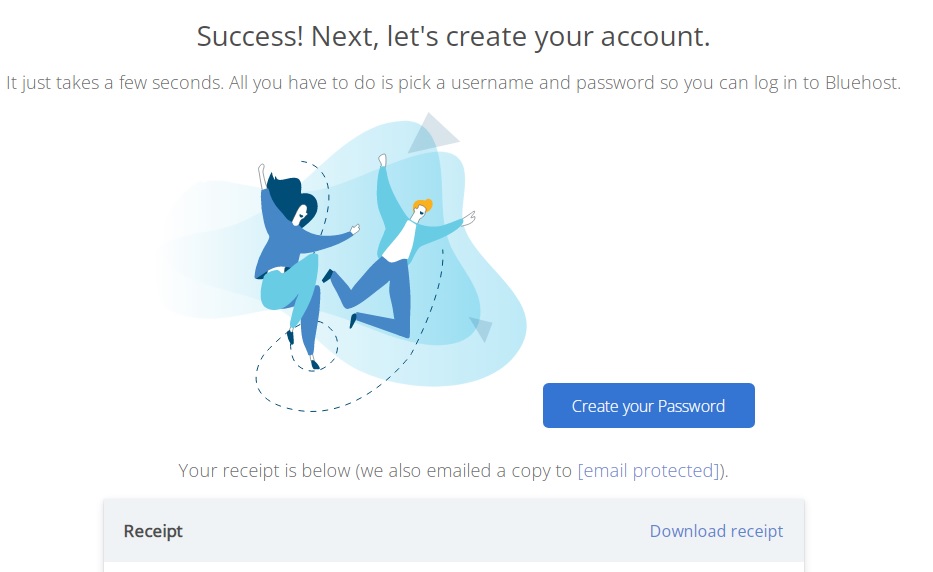
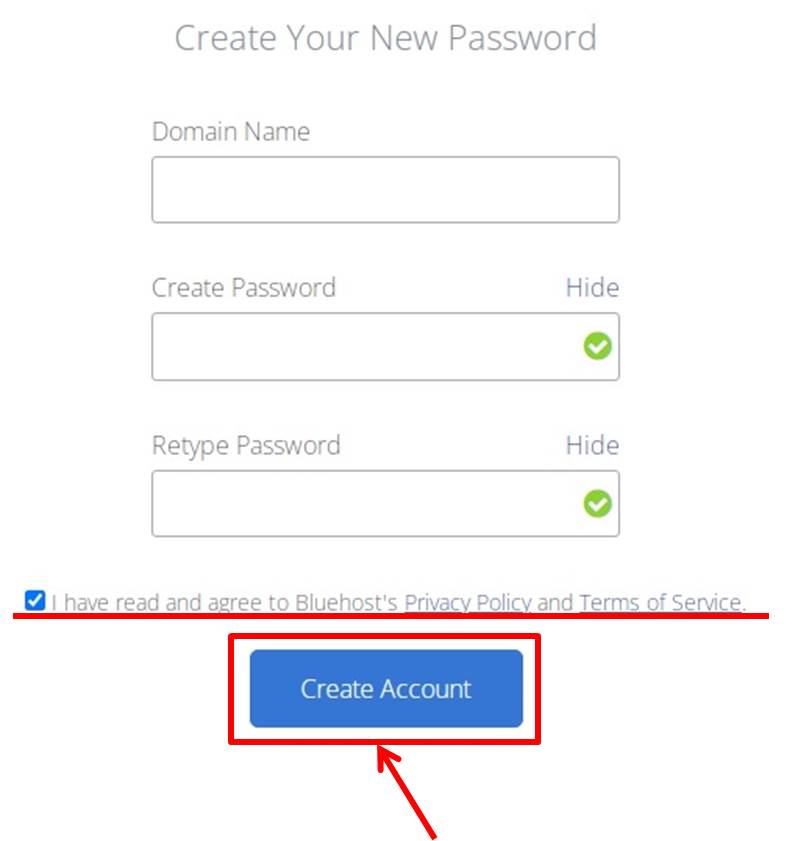
Click on “Create your Password”.
Enter your “Domain Name” and “Password”.
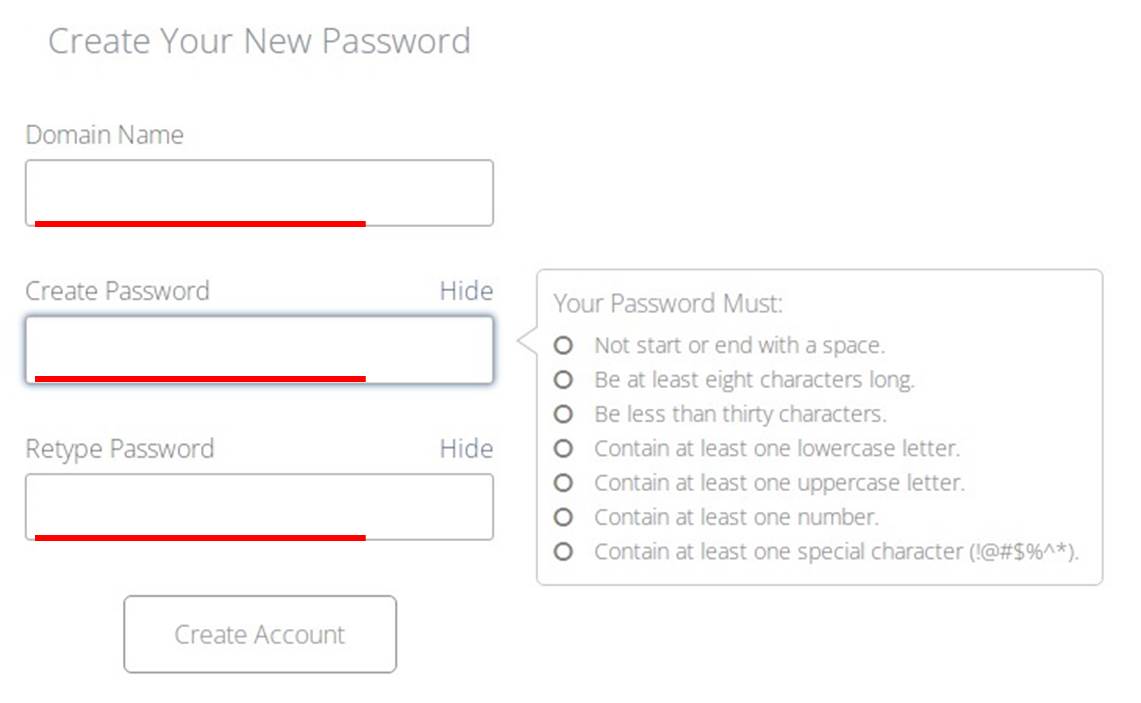
Click on “Create Account”.
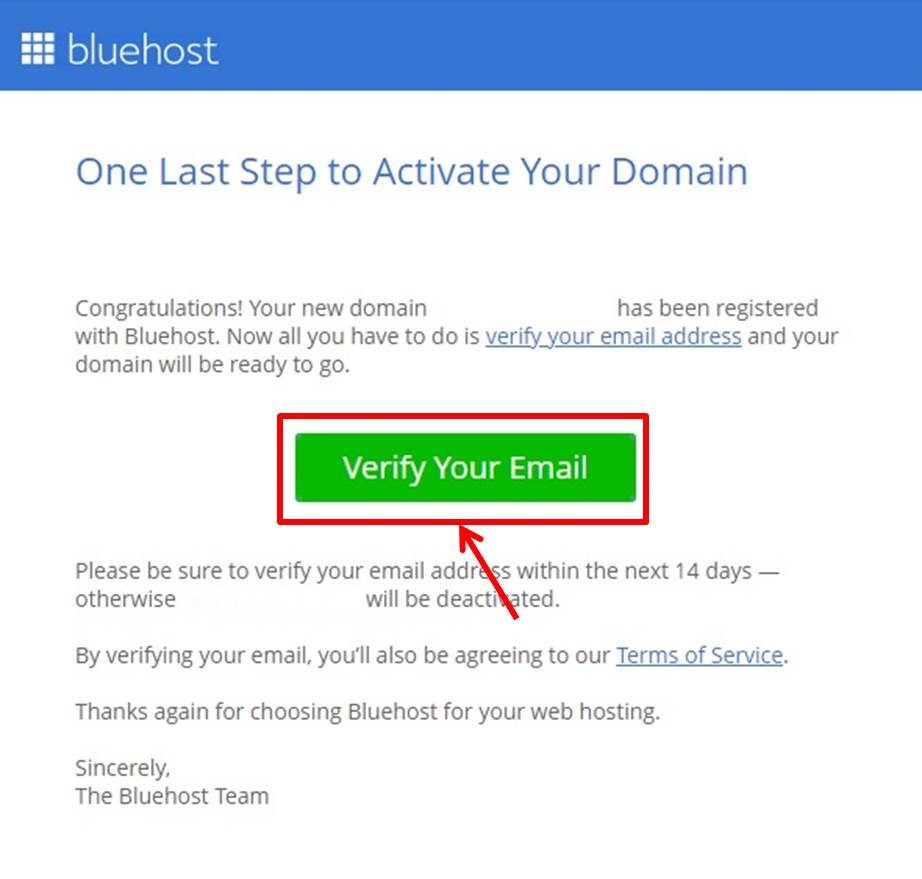
When the message “Yout account is ready to go.” is displayed, you are done.

Click on “Verify Your Email”.
Install WordPress
Click on “go to login”.

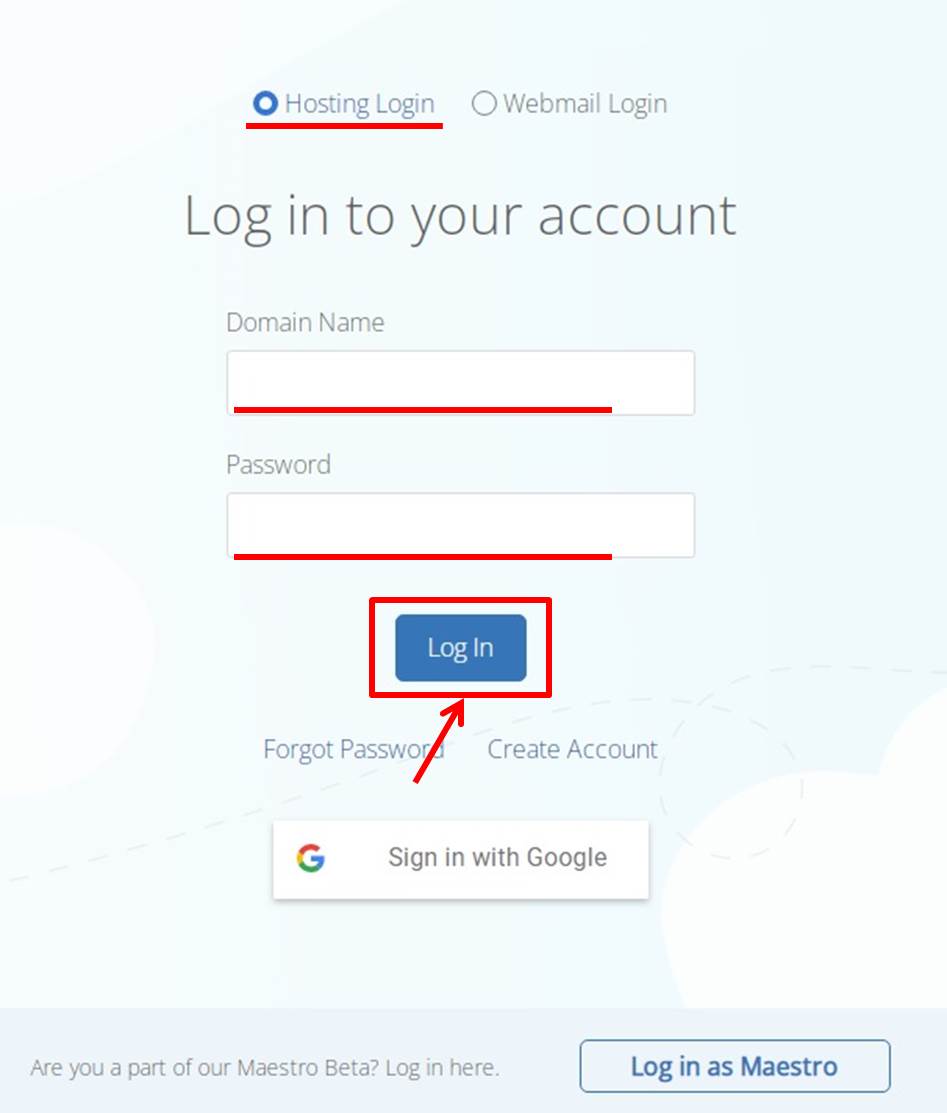
Select “Hosting Login”.
Enter your “Domain Name” and “Password”.
Click on “Log in”.
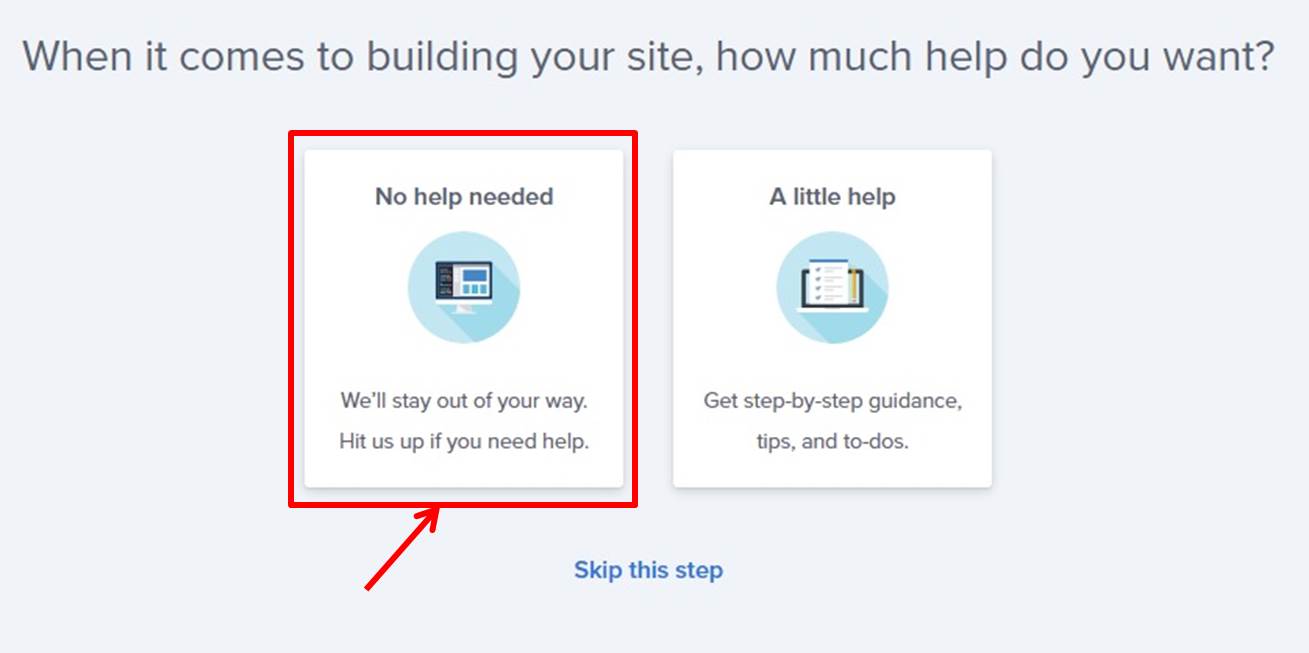
Click on “Create your website”.

Click on “No help needed.”
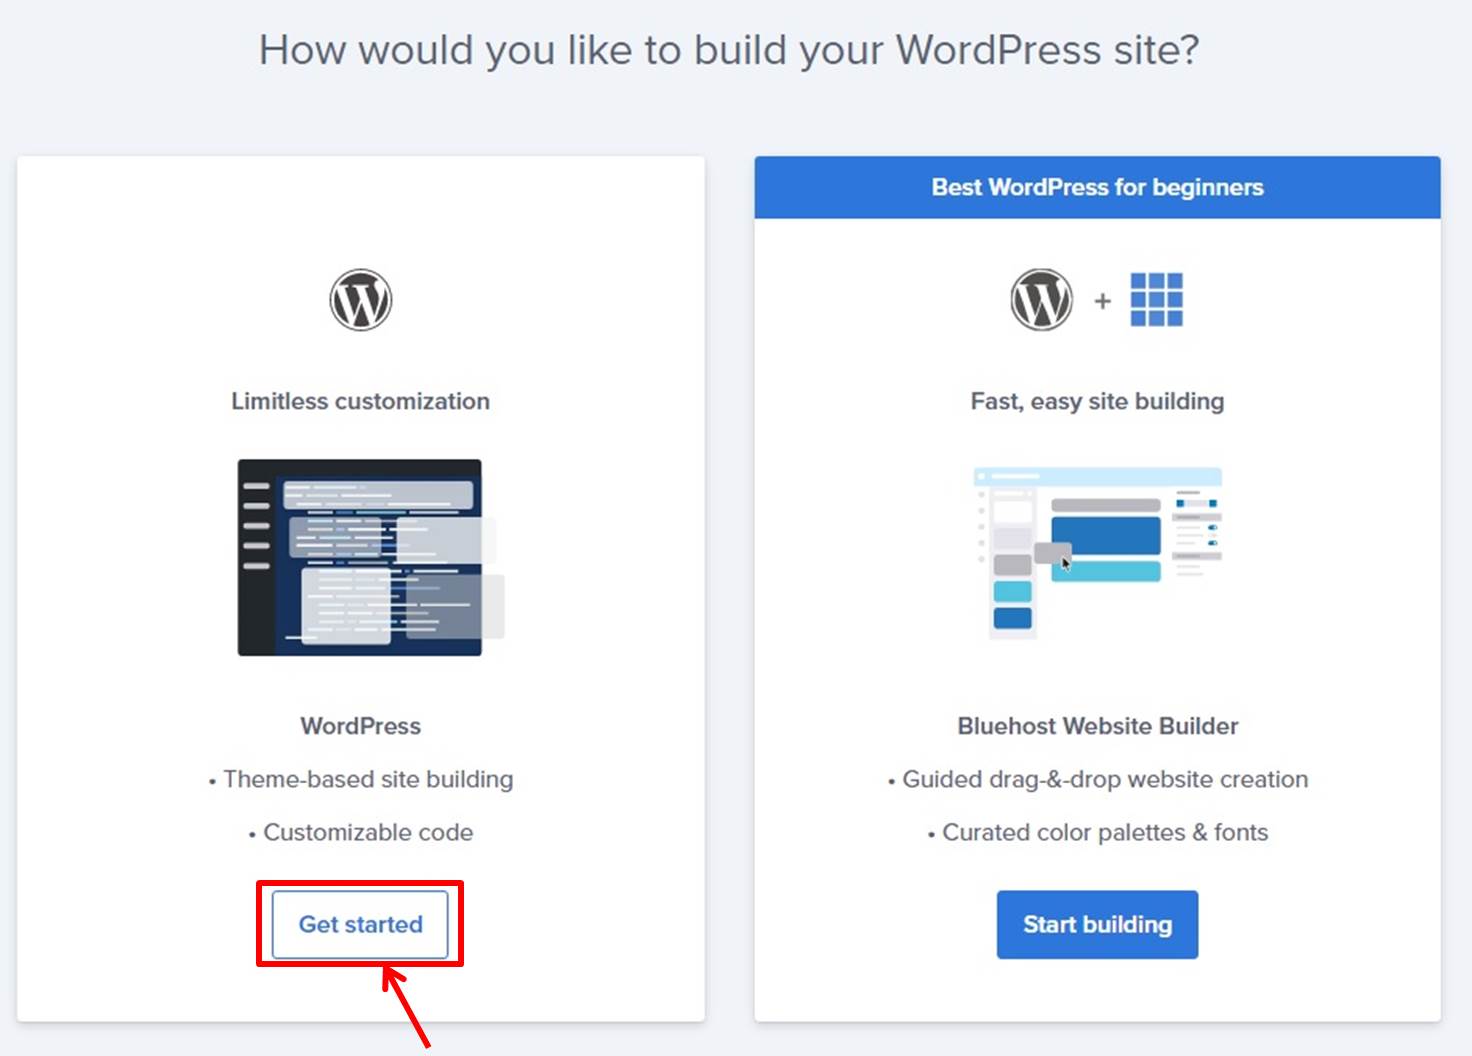
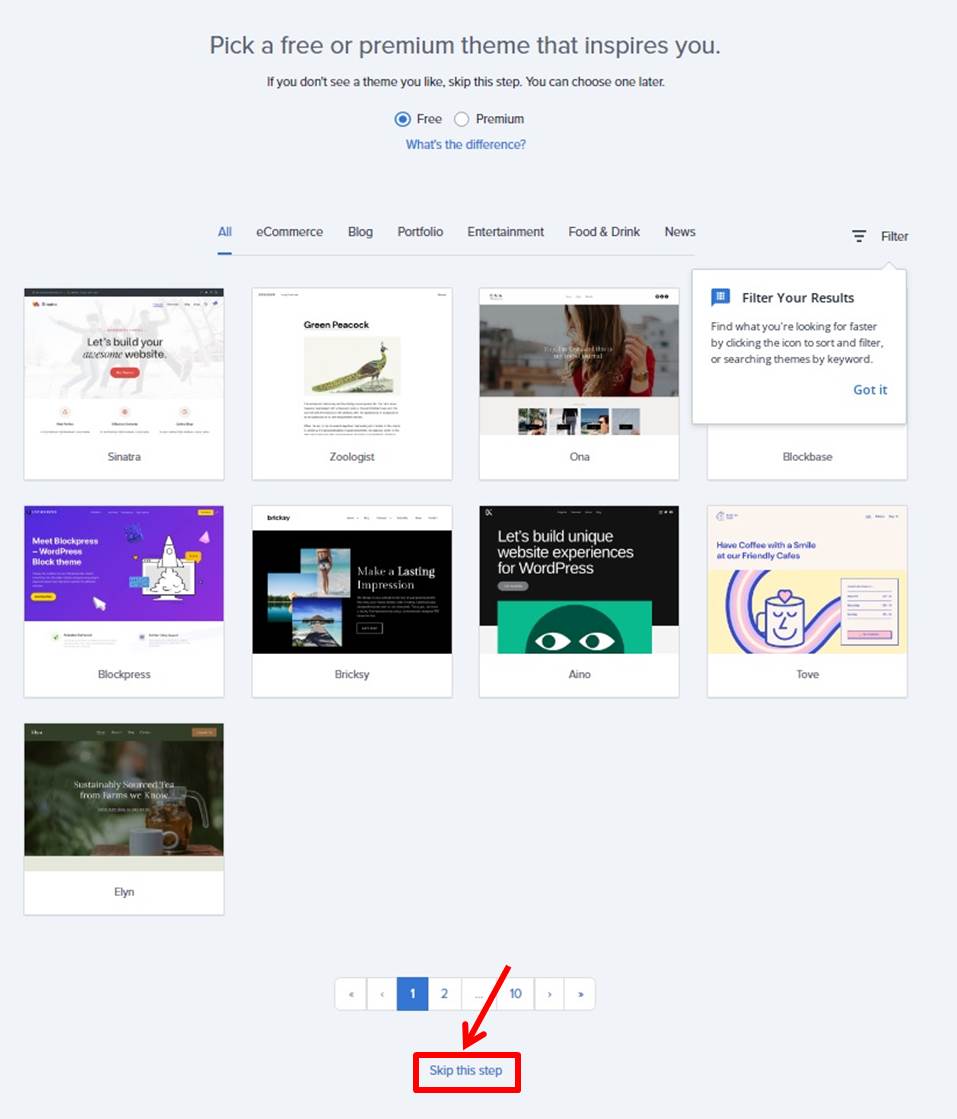
Select the appropriate one.
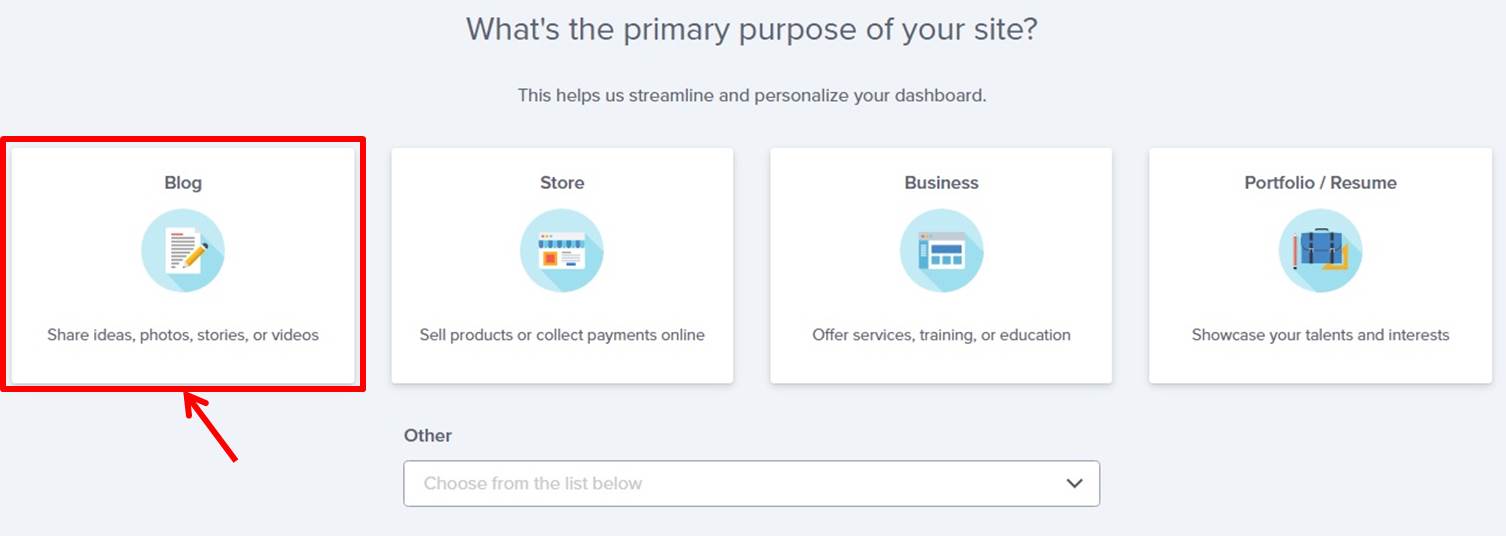
Click on “Get started”.
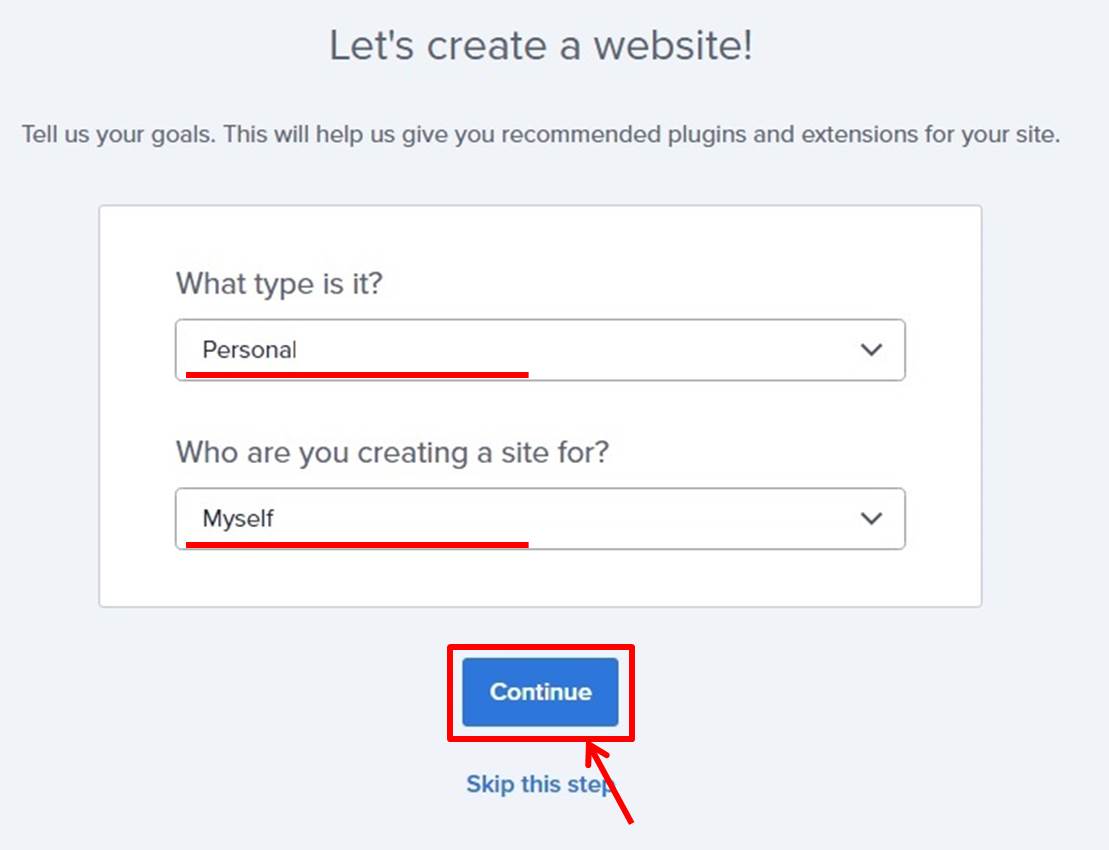
Select the appropriate one.
Click on “Continue.”
Enter a site name and tagline.
Click on “Continue.”
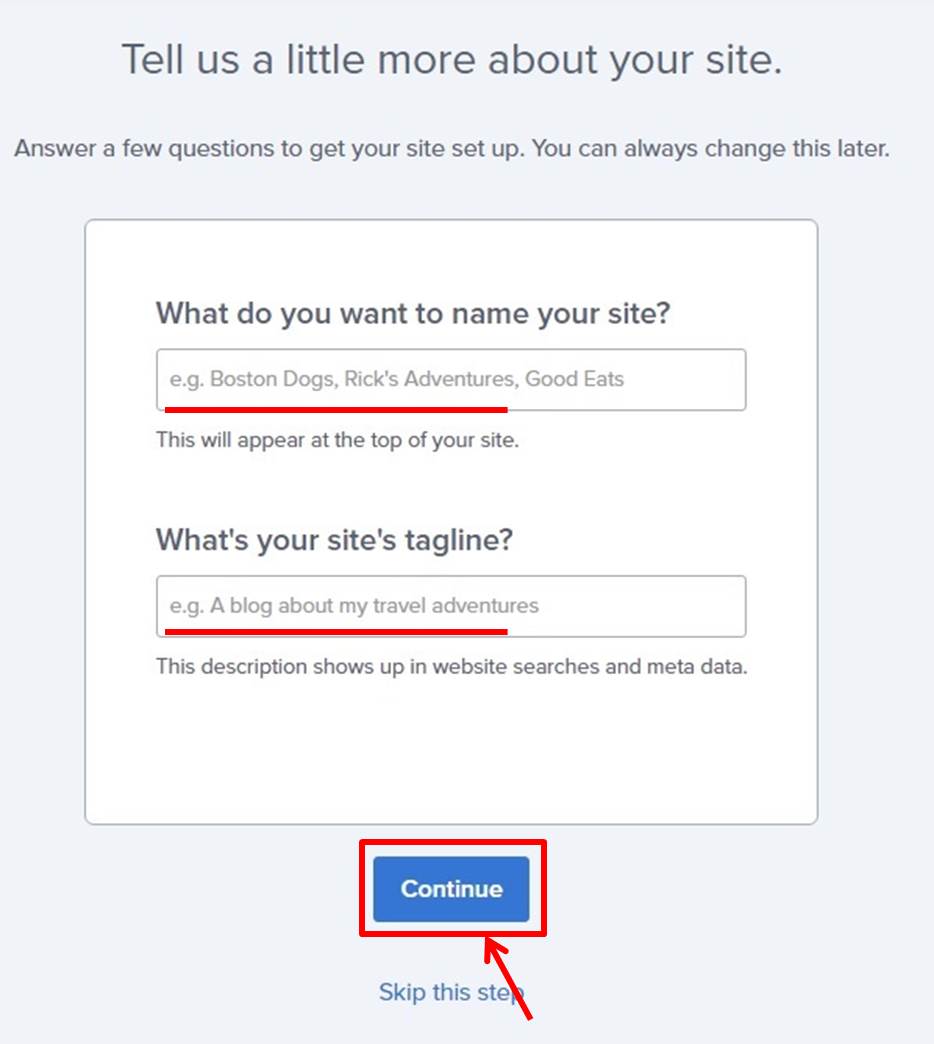
Click on “Skip this step”.
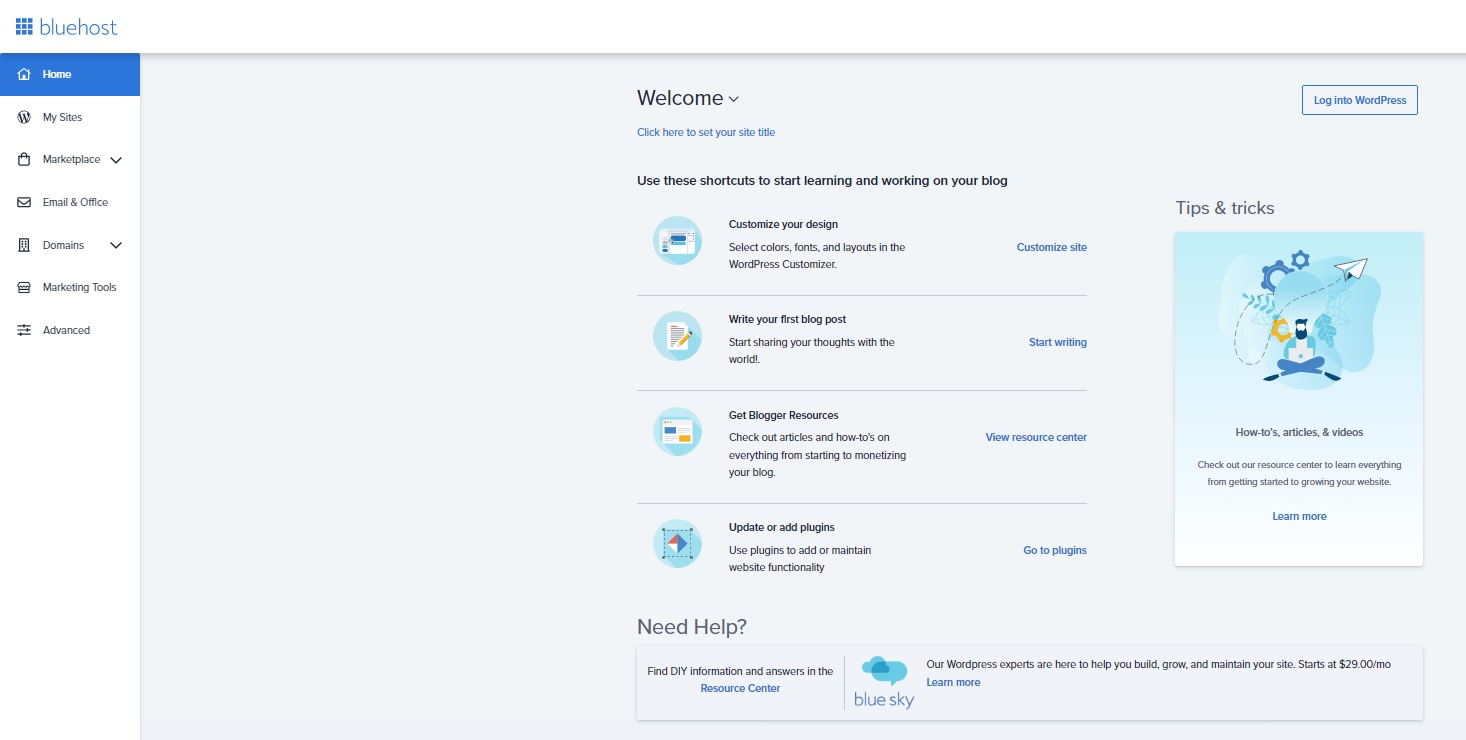
Go to the Bluehost control panel.
Click on “Log into WordPress” under “Home.”
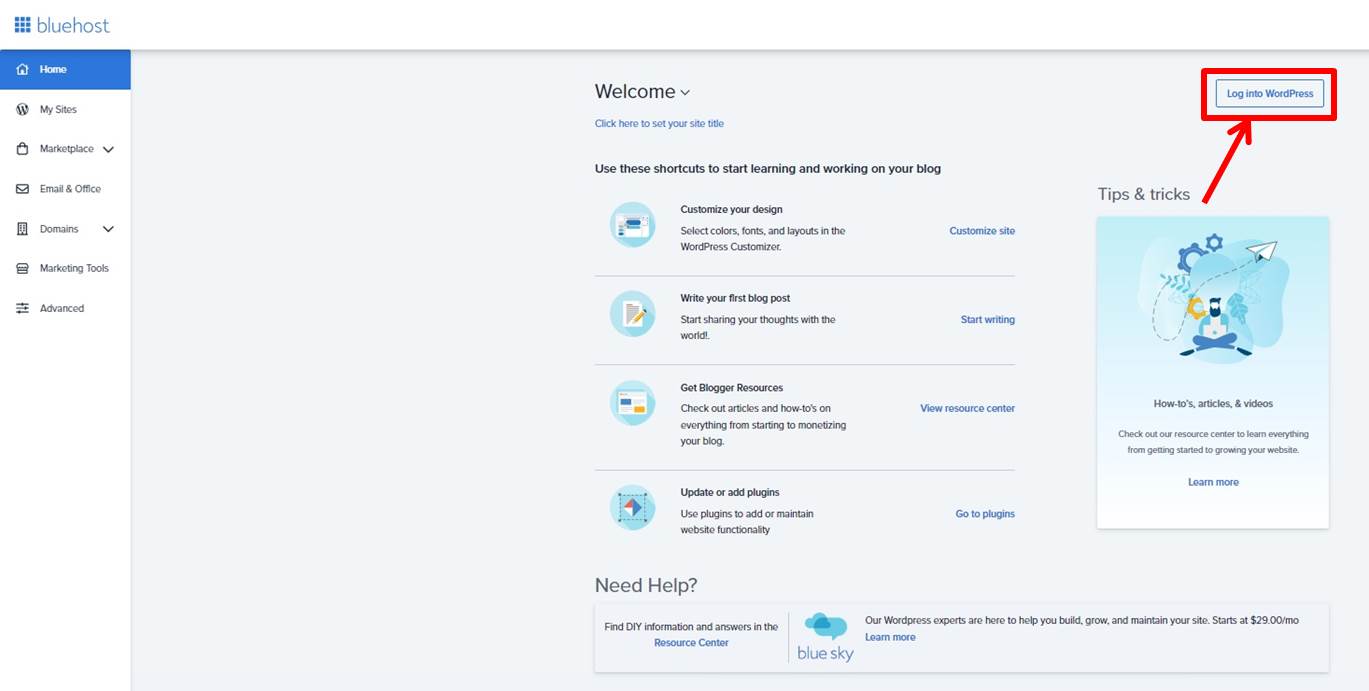
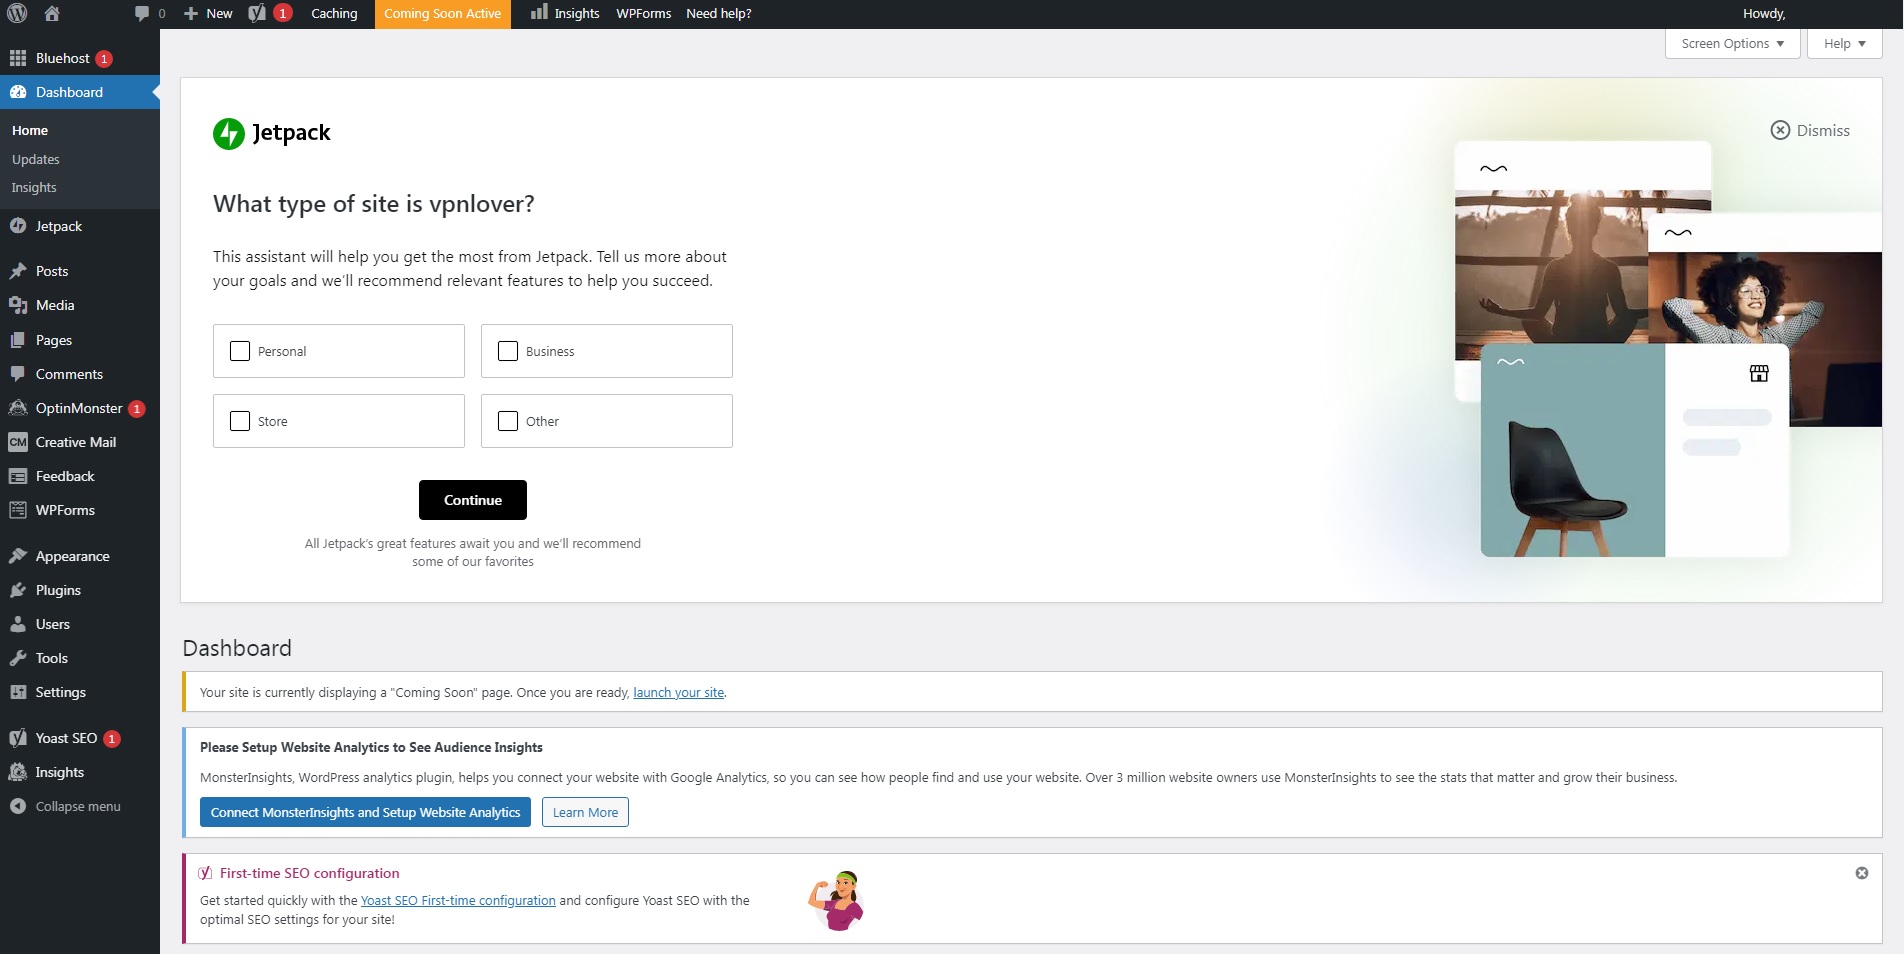
You can access the WordPress dashboard.
That’s it for the WordPress installation on Bluehost.
SSL
Log in to the Bluehost control panel.

Login to the control panel.
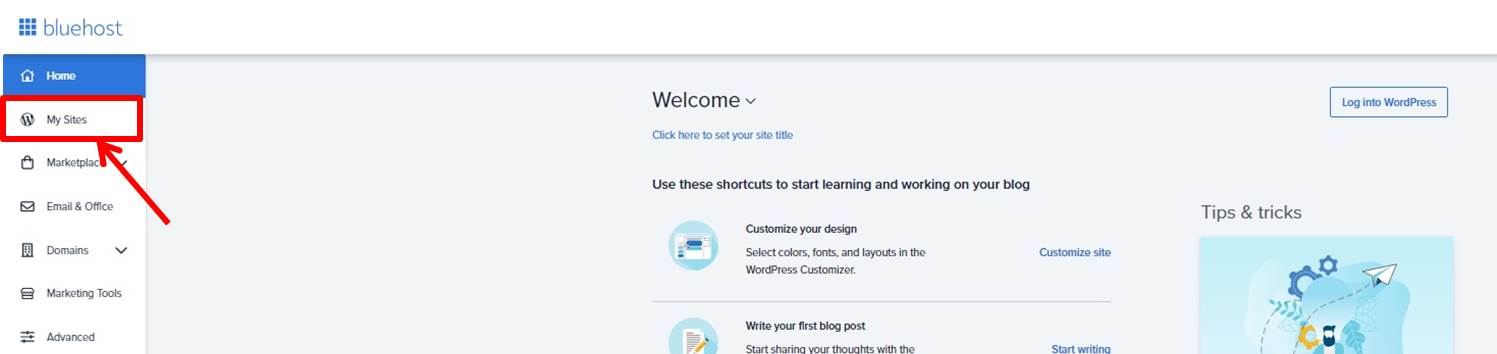
Click on “My Sites” in the menu on the left.
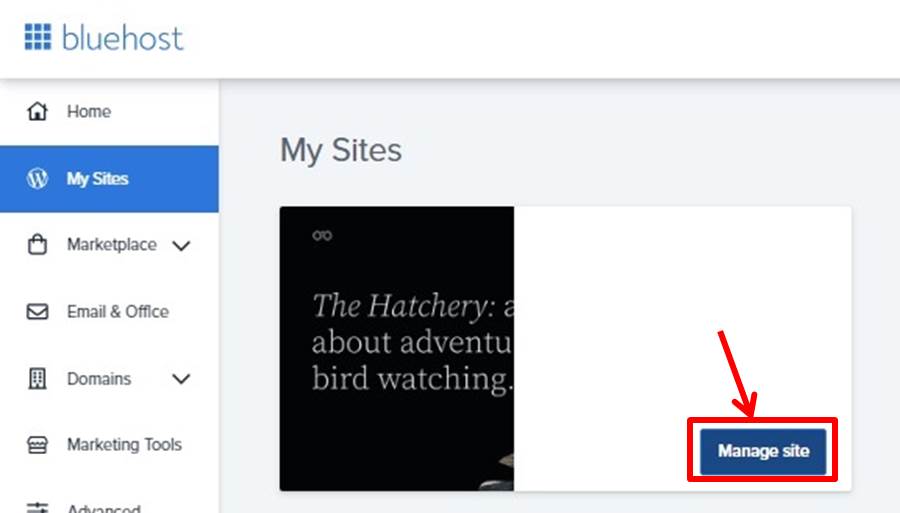
Click on “Manage site” for the site to be converted to SSL.
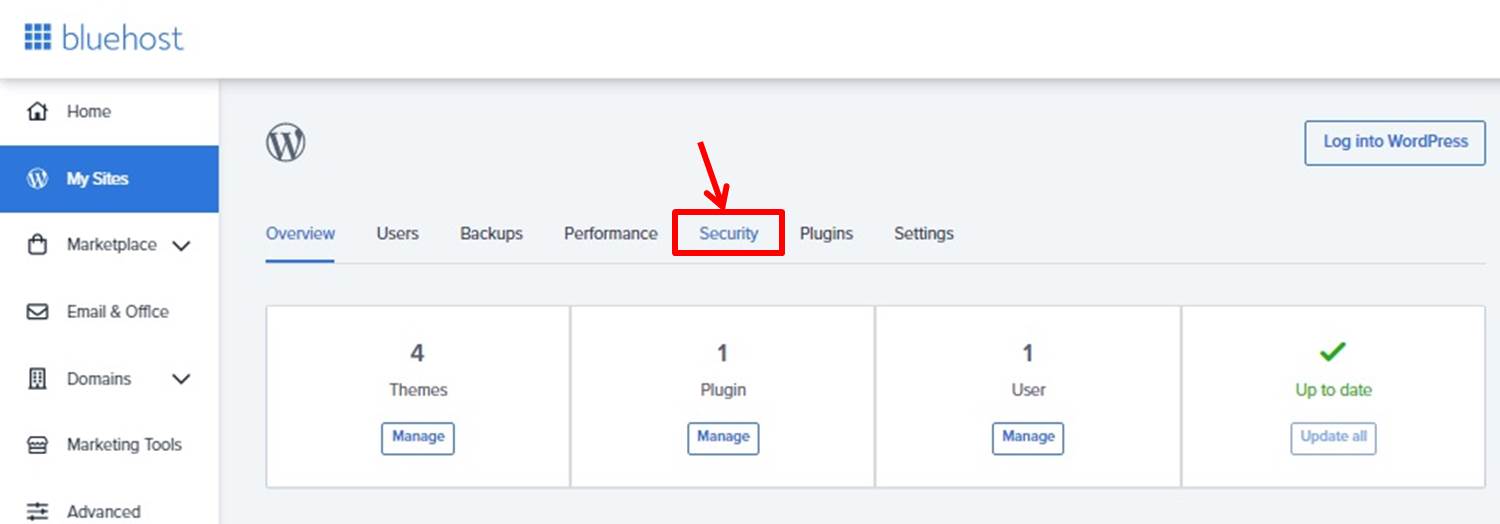
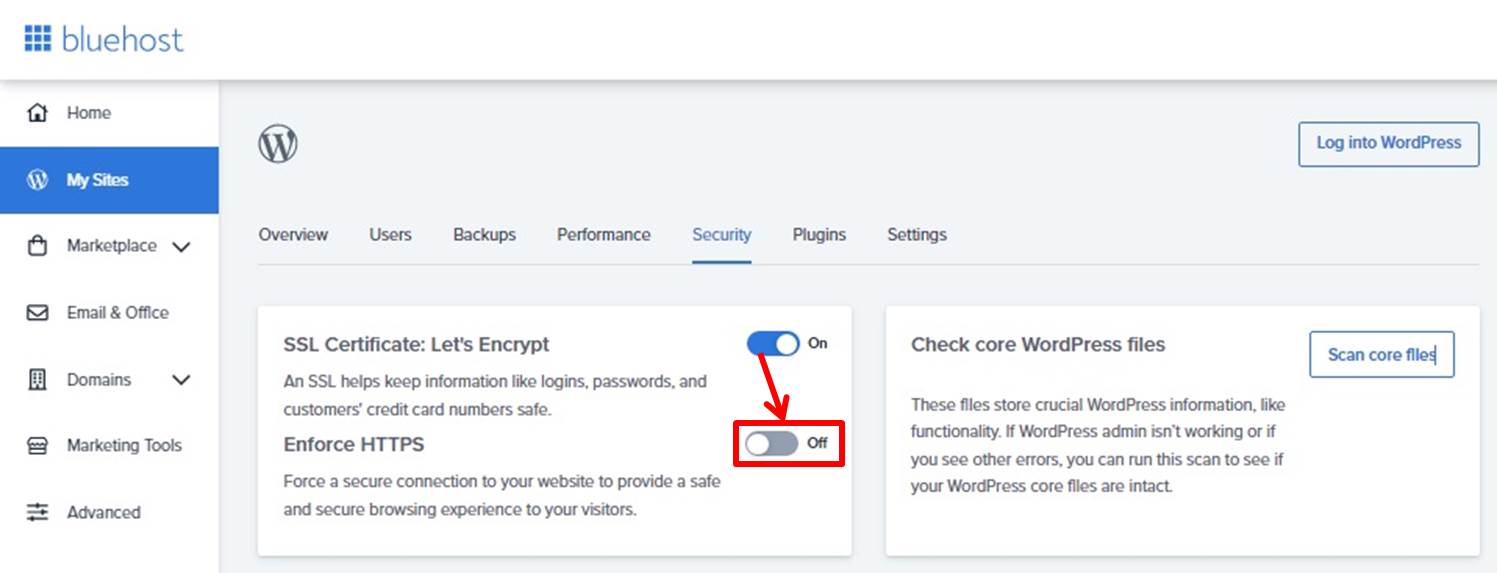
Click on “Security”.
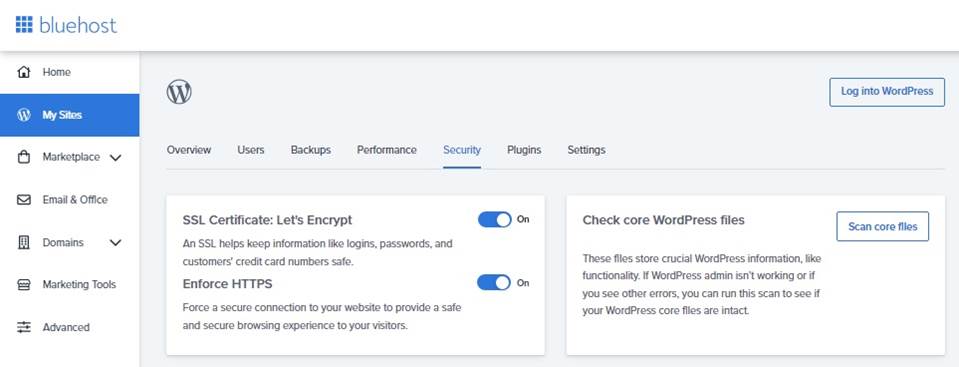
Turn on “SSL Certificate:Let’s Encrypt”.
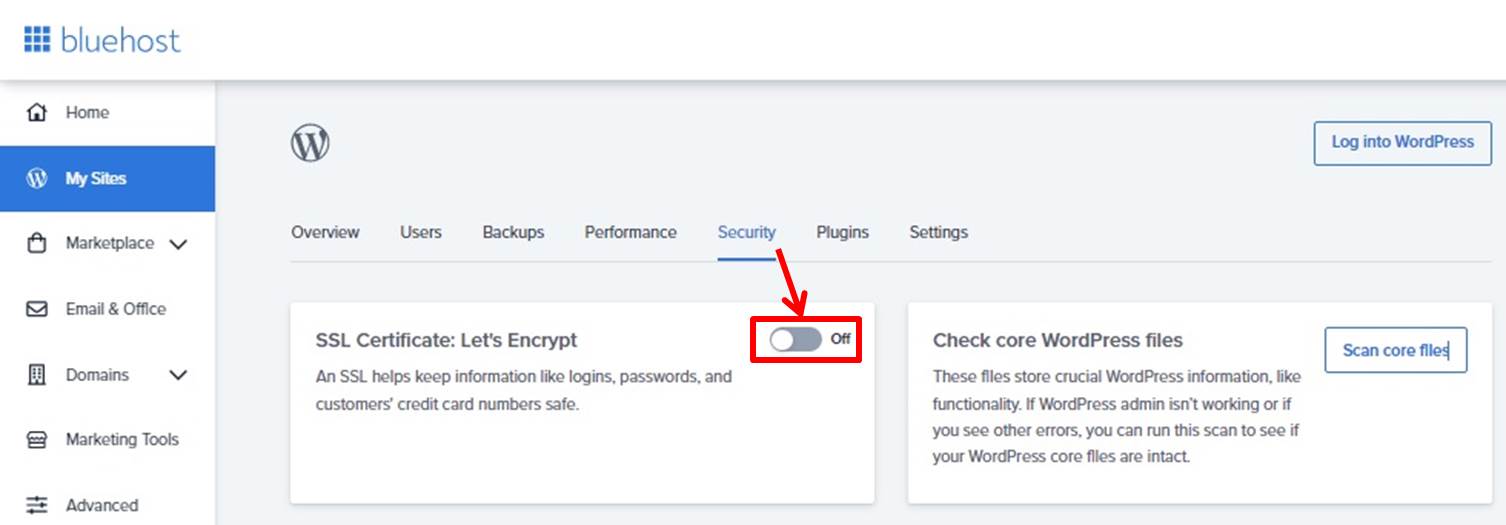
Turn on “Enforce HTTPS”.
SSL is now complete.
Bluehost
Bluehost is a popular and inexpensive international rental server.
It is a provider of web hosting services widely used around the world, with particular strength in WordPress hosting.
It offers plans for a variety of users, from individual bloggers to large corporations.
Hosting options range from entry-level shared hosting to dedicated servers suitable for large websites to VPS hosting for medium-sized businesses.
Bluehost’s WordPress hosting offers a full range of management services, including automatic updates and security backups to help users manage their sites without hassle.
Bluehost offers a drag-and-drop website builder that allows users to create websites intuitively, even if they have no coding knowledge.
Bluehost also offers a specialized hosting plan for building online stores using WooCommerce, and domain names can be easily purchased and managed.
Bluehost has a 24/7/365 support system with chat and phone support available anytime.
In terms of security, Bluehost offers a full range of SSL certificates and site lock backup options, allowing you to manage your website with peace of mind.
A wide range of pricing plans are offered, from low-cost plans for beginners to high-performance plans for businesses.
Discounts and promotions are regularly offered, so you can save money.
Bluehost’s major advantages are easy setup and highly reliable and stable server operation.
Even beginners can easily set up a website and upgrade their plan as their business grows.
These features make Bluehost popular with both novice and professional users.
No matter what the size of your website, you can use this web hosting service with confidence.
Bluehost features are summarized as follows
| site | 1 | unlimited | unlimited | unlimited |
| Free SSL | 〇 | 〇 | 〇 | 〇 |
| Free domain | 〇(1) | 〇(1) | 〇(1) | 〇(1) |
| SSD | 10GB | unlimited | unlimited | unlimited |
 LINEに登録いただくと下記をプレゼント!
①プロが教えるおすすめAI副業
②業務で使える!AI活用術
③おすすめAIツール
④高単価アフィリエイトプログラム100選
⑤ブログ運営に必須のツール
⑥ブログ初心者がやりがちなブログの失敗談
AIという新しい力をぜひ活用しましょう。
LINEに登録いただくと下記をプレゼント!
①プロが教えるおすすめAI副業
②業務で使える!AI活用術
③おすすめAIツール
④高単価アフィリエイトプログラム100選
⑤ブログ運営に必須のツール
⑥ブログ初心者がやりがちなブログの失敗談
AIという新しい力をぜひ活用しましょう。
-
前の記事

Emanon 2023.09.13
-
次の記事

おすすめのAIデータベースサイト5選を徹底解説 2023.09.25